Custom paintwork involves decorating vehicles. There is the Californian style, the freehand artistic style, and the graphic/racing style, which involves combining different areas of colour and effects on the fairings or bodywork.
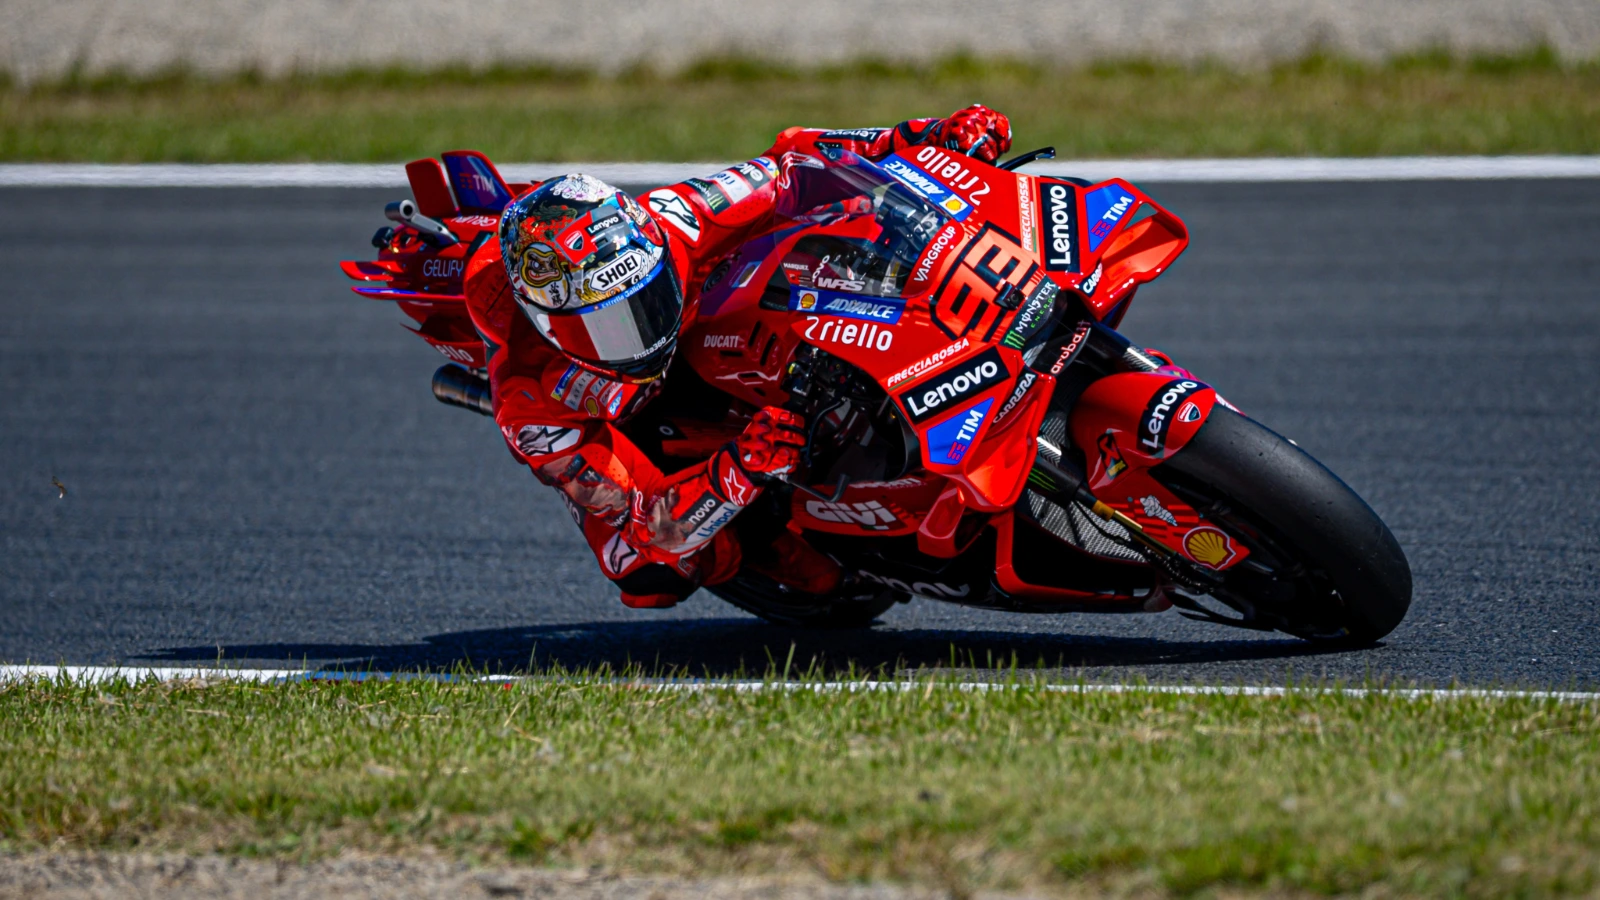
In the field of racing vehicles, logos and sponsors are often added. A coat of paint is often thinner and more attractive than applying stickers.
Can paint change the weight of a racing motorcycle?
To answer this question, let’s take a look at what exactly makes up a motorcycle paint system for a racing motorcycle.
There is the primer, which is the thickest layer and is used to cover carbon, fibre, or plastic. It is a thick layer, but it is intended to be sanded down to level the surface, and in fact, after sanding, there is not much left. Let’s say 30 to 50 microns thick. (1 micron = 1/1000 of a millimetre).
There is the motorcycle paint layer, and sometimes there are two different paint layers for certain special colours: the thickness of these dry layers is about 40 microns, which is four times the thickness of a hair.
Finally, there is the varnish, which is probably the thickest layer, with 50 microns for two layers. In total, we can do a simple calculation to determine the weight, assuming a density of 1:
2m² x (0.05mm + 0.04mm + 0.05mm) = 2 x 0.14 = 0.28 kg of dry material after evaporation
When looking for performance, it may be important to strip the surface before applying a new coat of motorcycle paint. Stripping can be done by sanding with a pneumatic sander or with a stripper. Strippers are often available in pots or aerosol cans. Several applications are required to remove the different layers, after which the surface can be rinsed with water to remove all traces of paint and solvents.
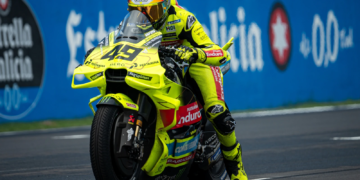
Custom paint jobs for race motorcycles
Colours for motorcycles
There are different types of colours that can be combined in a graphic composition:
► Classic colours, which are opaque colours such as red, blue, white, and black.
► and fluorescent colours, which are very flashy and bright colours.
They are part of the photoluminescent colours that react to light. In the case of fluorescent paints, they reflect more light than they receive, which is why they can be seen from a distance and stand out from their surroundings.
Fluorescent paints set the tone, particularly to give an energetic feel to the graphic design. They can be fluorescent yellow, fluorescent pink, fluorescent green, fluorescent orange, or fluorescent red. In total, there are around ten colours.
Be aware that these colours have a major weakness, which is why they are not seen everywhere on production vehicles: they have low UV resistance.
To protect them, an anti-UV varnish can be applied, but there are no miracles in this area, because even with 10 coats of anti-UV varnish, it is not possible to permanently protect fluorescent paint from the sun.
Special effect motorcycle paints
Effect paints are not just colours; they also have textures and optical properties. Unlike a conventional colour or pigment, which is a “flat” and simple colour, an effect paint can reflect an iridescent sheen, for example. This could be a pearlescent, holographic or metallic paint. But there are many others.
Today, there are innovative paints called effect paints. Not only do they have extremely intense colours that really attract attention, but they also allow for a kind of reaction. For example, colour-changing paints…
Chameleon paints are special effect paints that can reflect different colours depending on the angle from which they are viewed. Some chameleon paints can show three colours, such as turquoise, blue, and purple. There are certain chameleon paints that can reflect up to eight different colours.
There are many other special paints that make up the family of special effect paints: here is a summary, but this topic deserves an article dedicated to it.
There are prismatic paints that create a rainbow effect, there are also phosphorescent paints that glow in the dark, crystallized paints that create crystal-shaped texture patterns, Candy paints, which are transparent and extremely bright colours, and even chrome paints that create real chrome mirrors, and finally opalescent paints, which resemble sea shells with pearly white reflections of all colours.
The price for a “grand prix” paint job on motorcycles or cars
For a paint job with multiple colours and even special effects, the price can reach €250 for all the products that make up “the paint system.”
For a race car, the amount can reach €400 to €500, and it can be much higher if you choose paints with very special effects (such as certain EXTREM chameleon or some prismatic paints).
The term “paint system” refers to all the layers required to paint fairings or bodywork, from the primer and paint to the clear coat. Some motorcycle paints are called three-layer paints because they consist of two different colours layered on top of each other to create the final colour.
Create your own custom paint job for racing
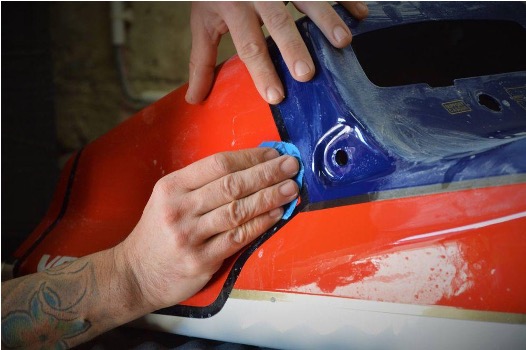
Even though it takes a few years of experience to master the art of spray painting on bodywork and fairings, I know that it is perfectly possible to create a beautiful finish yourself, as long as you are diligent, meticulous, and follow the instructions carefully. This can be done with a paint spray gun or spray paints. An airbrush is only used for very small areas, such as logos.
Here is a summary of an example of custom paintwork on a racing motorcycle, with fluorescent yellow, metallic silver paint, and black stripes.
Step 1: Apply a white primer. This is a two-component product, i.e., with a hardener, which will create a certain thickness. After two hours of drying, sand with P500 sandpaper. We chose a white background colour because we are going to apply certain colours that require a white background, and you should always start with light colours in the first coats and finish with dark colours.
Step 2: Apply several coats of fluorescent paint until you achieve the maximum colour. It is important to note that fluorescent paints are semi-transparent.
Step 3: We will protect the background immediately after applying the fluorescent paint with a varnish. Apply a single coat of varnish very quickly (less than 15 minutes) after the fluorescent paint to allow direct adhesion without sanding. This protective layer will allow us to work on our decorations without fear of damaging the fluorescent paint.
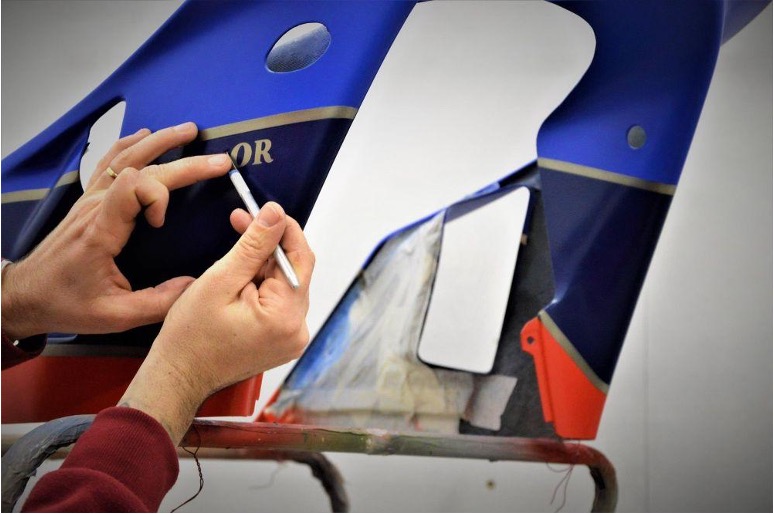
Step 4: The varnish has been sanded with P500 sandpaper. This will ensure perfect adhesion for all the masking and colour areas we are going to do. Next, we can apply the adhesive lines and mask the areas to be protected.
All the colours we use, whether fluorescent, chrome, pearlescent, or metallic, are single-component paints that are very thin and dry very quickly. When spraying a colour in an area, care must be taken to spray as thinly as possible to avoid unevenness and what is known as “stair-stepping.” The adhesives can be removed five minutes after the paint has been applied.
Whenever you want to apply a new coat of colour, you cannot place adhesive tape or masking tape directly onto paint that is not completely dry. Once the paint is dry, it is important to sand it lightly with an abrasive sponge to create a good bond. Once you understand this, you can create an infinite number of colour combinations, with durable and resistant paintwork. In the event of scratches or impacts, there will never be any separation between the layers.
Step 5: The final step is always to apply a varnish. A varnish is always two-component, and it will protect the paint and all the materials underneath. The varnish forms a protective layer against water, abrasion, and even gasoline.
If you would like to learn more about special effect motorcycle paints, we highly recommend reading this well-illustrated article: 5 Paint Effects You Can Apply to Any Motorcycle


